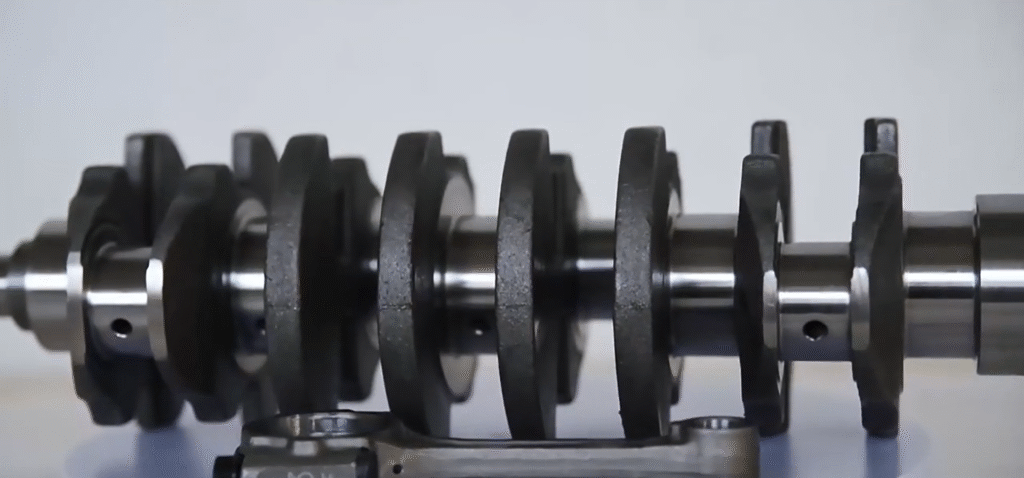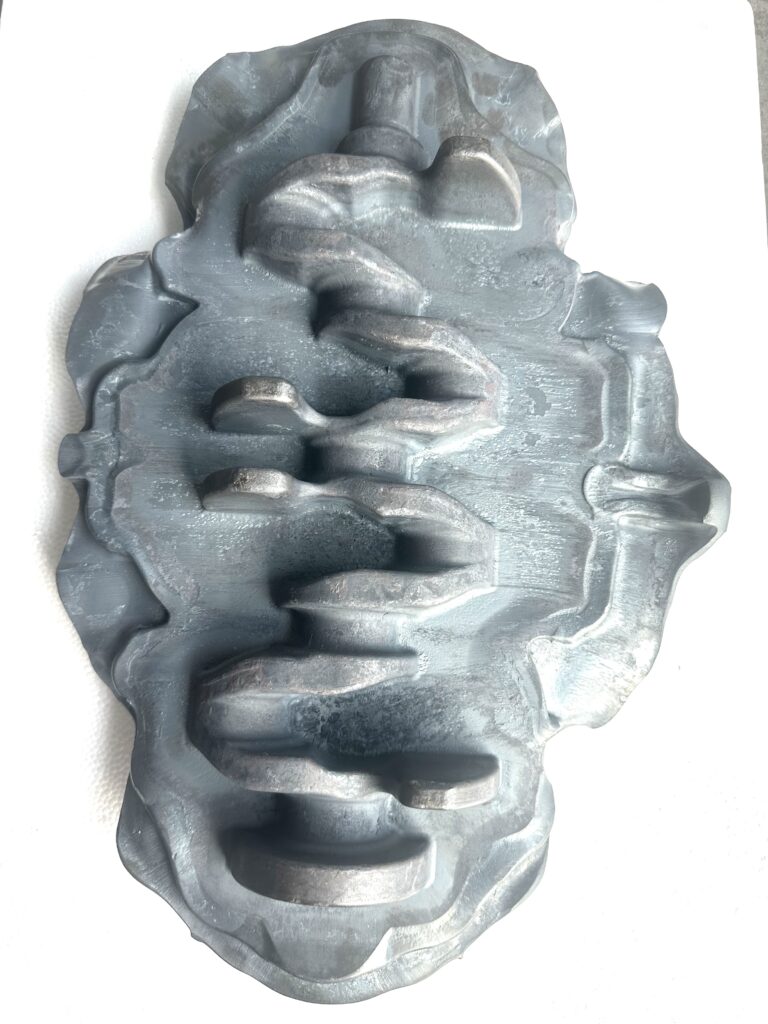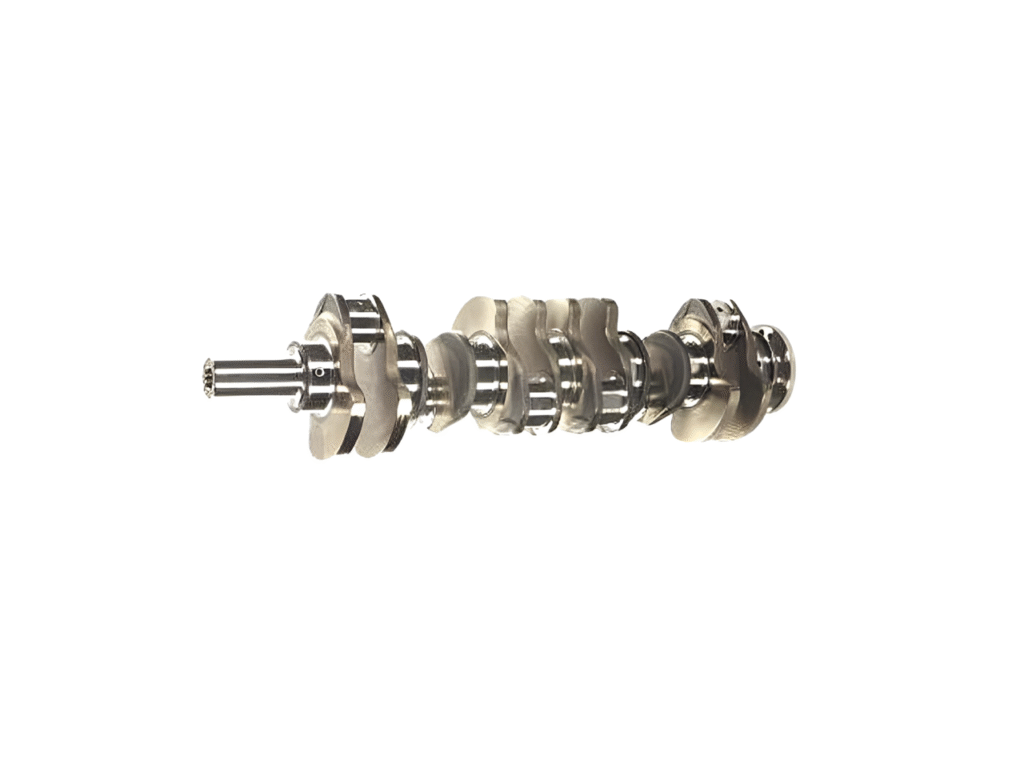
Imagine it: peak harvest season, and your trusted heavy-duty tractor suddenly develops a deep, metallic “thudding” knock from the engine. A violent shudder accompanies it, and the oil pressure has plummeted into the danger zone. These are the classic signs of a failed crankshaft. A repair shop quote of several thousand dollars and a long wait for parts can bring any operation to a grinding halt.
But you have the power to fix this yourself. This guide provides a clear, professional, and proven DIY roadmap focused on replacing the crankshaft in the legendary Mercedes-Benz OM352 or its robust ADE 352 counterpart. We will cover every critical step, from accurate diagnosis to precision installation. By following this guide and choosing a trusted parts supplier like Volgen Power, you’ll not only save a significant amount of money but also get your machine back to work in peak condition.
Table of Contents
When Things Go Wrong: A Post-Installation Troubleshooting Guide
| Problem | Likely Causes | Diagnostic Steps |
| No/Low Oil Pressure on Start | 1. Oil pump not primed. 2. Incorrect bearing clearances. 3. Missing oil gallery plug. 4. Faulty gauge/sender | 1. Repeat priming procedure. 2. Verify pressure with a mechanical gauge. 3. If still no pressure, the engine must be torn down to find the cause. |
| Overheating | 1. Air trapped in the cooling system. 2. Incorrect ignition/injector timing. 3. Thermostat installed backwards or faulty. 4. Head gasket failure. | 1.”Burp” the cooling system. 2. Re-check timing marks. 3. Check for bubbles in the radiator (head gasket). |
| New Knocking Sound | 1. Incorrect rod/main bearing clearance. 2. Piston installed backwards (hitting crank). 3. Foreign object left in engine. | This requires immediate shutdown and partial disassembly to investigate. Use a mechanic’s stethoscope to try and pinpoint the location of the noise. |
| Leaks (Oil or Coolant | 1. Gasket failure due to improper torque or a dirty surface. 2. Damaged seal during installation. 3. Cracked casting. | Use a UV dye kit to pinpoint the exact source of the leak. Re-torque bolts if appropriate, but a new gasket is often required. |
Part 1: Fast and Accurate Diagnosis to Pinpoint the Problem
A wrong diagnosis is worse than the failure itself. Before you touch a single bolt, you must be 100% certain the crankshaft is the culprit by confirming these signs and performing these tests.
The 3 Core Symptoms
- Deep, Metallic Knock: Unlike the “ticking” of a bad valve lifter, a crankshaft failure produces a deep “thud, thud, thud” from the bottom end of the engine. It’s often most noticeable when the engine is decelerating. This is the sound of excessive clearance allowing the connecting rod to hammer against the crankshaft.
- Low-Frequency, Severe Vibration: This feels like a powerful shudder coming up through the seat and floorboards, and it gets worse under heavy load. It’s caused by a bent crankshaft or severely worn bearings, creating a dynamic imbalance.
- Catastrophic Loss of Oil Pressure: When the engine is warm at idle, the oil pressure is far below normal (e.g., under 30 PSI / 2 bar). This happens because excessive bearing clearances allow oil to escape too easily, preventing the system from building effective pressure.
The 3 Essential Diagnostic Tests
- Visual Inspection: Drop the oil pan and inspect the oil for shiny, metallic flakes. This is the most direct evidence of the bearing alloy being ground away.
- Measure Crankshaft Runout: With the flywheel removed, use a dial indicator on the center main journal to measure its wobble. If the total runout exceeds 0.03 mm (0.0012 inches), the crankshaft is bent and must be replaced.
- Measure Bearing Clearance: Using Plastigauge is the simplest and most effective method. Place it in the journal, torque the bearing cap to spec, then remove the cap. The width of the flattened plastic strip gives you a precise clearance measurement. If the clearance exceeds the service manual’s wear limit (often >0.10 mm), the crank and bearings are worn out.

Part 2: Gearing Up with the Right Tools & Quality Parts
A successful rebuild depends on professional tools and reliable parts.
Essential Tool Checklist
- Torque Wrench: A calibrated torque wrench covering a range of 100-250 Nm (75-185 ft-lbs) is mandatory.
- Precision Measuring Tools: A dial indicator, micrometers, and Plastigauge are non-negotiable.
- Engine Hoist and Stand: To safely handle and work on the heavy engine block.
- Specialty Tools: A flywheel puller, piston ring compressor, and bearing installation tools.
- Cleaning Tools: Oil gallery brushes, wire brushes, scrapers, and compressed air. Cleanliness is the most critical aspect of engine building.
Essential Parts List: The “Do It Once, Do It Right” Philosophy
When the engine is fully disassembled, it’s wise to replace all key wear items to prevent future failures.
- Must-Replace Items:
- New Crankshaft
- Complete set of Main Bearings and Rod Bearings
- Front and Rear Main Seals
- Complete Engine Gasket & Seal Kit
- Flywheel Bolts and Connecting Rod Bolts (these are often single-use, torque-to-yield bolts)
- Highly Recommended to Replace:
- Oil Pump
- Piston Rings
- Timing Gears (if worn)
Choosing Your Parts: Partnering with a specialized supplier like Volgen Power is crucial. They provide high-quality forged crankshafts and complete engine kits that meet or exceed OEM standards. This ensures performance and longevity, and their expert support helps you get the right parts the first time, preventing compatibility headaches. This investment is the foundation of a successful repair.
Part 3: The Core of the Job: Crankshaft Installation Explained
This is the most technical part of the repair. Work with absolute cleanliness and strictly follow the service manual’s torque specs and sequences.
Step 1: Disassembly & Cleaning
- Organized Teardown: Label and sort all bolts, lines, and harnesses as you disassemble the engine. Take plenty of photos for reference.
- Extreme Cleaning: Have the bare block professionally hot-tanked, or manually scrub every oil gallery and bolt hole with brushes, solvent, and compressed air. Any remaining debris will destroy your new parts.
- Cylinder Prep: Use a cylinder hone to create a fresh crosshatch pattern on the cylinder walls, which is essential for seating the new piston rings.
Step 2: Bearing Installation & Clearance Measurement
- Install Bearings: Press the new, clean main bearing shells into the engine block and bearing caps. Note the difference between the upper shells (with oil holes) and the lower shells.
- Lay the Crankshaft: Liberally apply assembly lube to the bearing surfaces, then carefully lower the new crankshaft into place.
- Measure Main Bearing Clearance: Use Plastigauge to measure the clearance of every main bearing. Ensure the reading is within the standard range of 0.02-0.06 mm. This is a critical check of your work.
- Final Torque: Once clearances are confirmed, clean off the Plastigauge, reapply assembly lube, and tighten the main bearing caps using the multi-stage torque sequence from your service manual (e.g., Stage 1 to 50 Nm, Stage 2 to 120 Nm, Stage 3 plus 90 degrees).
- Check End Play: Use a feeler gauge to measure the crankshaft’s front-to-back movement (end play). It should be within a tight range, typically 0.10-0.30 mm.
Step 3: Piston, Rod & Timing Installation
- Install Piston/Rod Assemblies: Lubricate the cylinder walls and piston rings with oil. Use a piston ring compressor to guide the pistons into the cylinders. Again, use Plastigauge to verify connecting rod bearing clearances before final torquing.
- Torque Rod Bolts: Use new bolts and strictly follow the manual’s torque procedure.
- Set the Timing: Install the timing gears, precisely aligning the single mark on the crankshaft gear between the two marks on the camshaft gear. Being off by even one tooth can cause catastrophic engine damage.
Step 4: Sealing & Final Assembly
- Install Seals: Carefully install the new front and rear main seals, ensuring the lips are not damaged.
- Install Cylinder Head: Use a new head gasket and new head bolts, following the multi-stage, center-outward tightening sequence exactly.
- Assemble Accessories: Install the oil pan, oil pump, water pump, flywheel, and all other components using new gaskets.

Part 4: First Start, Break-In, and Troubleshooting
This final stage determines the long-term success of your hard work.
The Critical First Start
- Pre-Lube (Prime the Engine): Disconnect the fuel supply and crank the engine in 15-second intervals until you see oil pressure register on the gauge. Never dry-start a new engine.
- Start and Inspect: Reconnect the fuel supply and start the engine. Immediately bring the RPMs up to a fast idle (1200-1500 RPM) and hold it there for 20 minutes. Do not let it idle. During this time, perform a thorough walk-around, checking for any oil or coolant leaks.
Engine Break-In
- First 10 Hours: Avoid both full-throttle operation and extended idling. Vary the engine speed and load by driving the tractor and doing light work. This helps the new ring seat correctly against the cylinder walls.
- After 50 Hours: Perform the first oil and filter change to remove microscopic metal particles generated during the break-in process.
If Problems Arise: If you have no oil pressure or hear new noises upon startup, shut the engine off immediately. First, check for simple causes like a failed gauge or an unprimed oil pump before assuming the worst.
OEM vs. Premium Aftermarket: Making the Smart Choice with Volgen Power
You have two main choices for parts: OEM (Original Equipment Manufacturer) from a dealer, or premium aftermarket from a specialized supplier.
- OEM: The quality is guaranteed to be what the factory originally installed. However, the price will be exceptionally high, and for an older engine like the OM352, availability can sometimes be an issue.
- Premium Aftermarket: This is the sweet spot for value and quality. A supplier like Volgen Power specializes in these engines. Their parts are not cheap, generic copies. They are engineered to meet or exceed OEM specifications. For example, a Volgen Power crankshaft will be forged from certified high-carbon steel, precision machined, dynamically balanced, and surface hardened, just like the original.
The Volgen Power Advantage:
- Specialized Expertise: They know the OM352 inside and out. They can help you verify you’re ordering the correct parts for your specific engine serial number, including any mid-production changes.
- Quality Assurance: Their parts undergo rigorous quality control, including material testing and dimensional checks, ensuring a proper fit and long service life.
- Cost Savings: By focusing on a specific market segment and streamlining their supply chain, they can offer parts of equal or superior quality to OEM for a fraction of the price.
- Availability: They maintain a deep inventory, meaning you can get a complete rebuild kit shipped to your door quickly, minimizing your tractor’s downtime.
For a project of this magnitude, partnering with a supplier like Volgen Power isn’t just a purchase; it’s a strategic decision that ensures the success of your rebuild.
Conclusion: Empowerment Through Action
Replacing an engine’s crankshaft is a challenging but incredibly rewarding project. It saves you thousands of dollars in repair costs and gives you complete control over the quality and timeline of your repair.
This is no longer a job reserved only for professional shops. With this clear guide, a commitment to precision, and high-quality parts from a trusted partner like Volgen Power, you have all the tools you need to turn a potential disaster into a resounding success. Now, get your tools ready and get to work.
FAQs.
Q: Can I reuse my old cylinder head bolts to save money?
A: Not. The OM352, like most modern engines, uses Torque-to-Yield (TTY) bolts. They are designed to be tightened to a specific torque and then stretched to a specific angle, which takes them past their elastic limit. They are permanently stretched and will not provide the correct, even clamping force if reused, almost guaranteeing a head gasket failure.
Q: My crankshaft journal is only slightly scored. Can I polish it with emery cloth?
A: This is a very common but terrible idea. Using an emery cloth by hand will never remove material evenly. You will create flat spots and out-of-round conditions, making it impossible for the bearing to maintain a proper oil film. The only correct way to repair a scored journal is to have it professionally ground to the next undersize by a machine shop.
Q: What’s the difference between the crankshaft for a naturally aspirated OM352 and a turbocharged OM352A?
A: While they may look similar, turbocharged engines experience much higher cylinder pressures and stresses. The crankshaft for an OM352A is often made from a higher-grade steel alloy and may have additional hardening treatments (like induction hardening on the fillets) to cope with the extra load. It is critical to use the correct part number for your specific engine model. A knowledgeable supplier like Volgen Power can ensure you get the right one.
Q: How do I know if my engine block needs to be align-bored?
A: Align-boring is a machine shop process that re-cuts the main bearing housing tunnel to ensure it is perfectly straight and round. You would need this if the block has severely overheated and warped, or if a main bearing has spun in its bore, damaging the housing. A machinist will check this with a dial bore gauge. If the main bearing bores are out-of-round by more than the service limit (e.g., ~0.015mm), align-boring is required.
